


Grilling 101: The Basics of Keeping Your Grill Clean
As the sizzle of perfectly seared meat fades and the aroma of smoky flavors still lingers, we draw the curtain on our Grilling 101 Series. This final act is as crucial as the rest – a dedication to the vital step that ensures mouthwatering meals, unforgettable backyard experiences, and the utmost safety. It's about time we huddle around the dying embers to learn the basics of keeping your grill clean.
Grill masters and novices alike know this – the secret to the perfect barbeque doesn't end with mastering the heat or marinades; it lies in the ritual that comes after. Just as a painter cares for their brushes or a gardener tend their tools, keeping your grill pristine is the mark of true aficionados of the flame. This crucial maintenance maintains the integrity of every dish you artfully cook and safeguards the heart of your outdoor kitchen from the toll of time and usage.
Imagine each future gathering ignited by the promise of flavors unspoiled by the residue of past feasts, and know that the art of keeping your grill clean is your ticket to unparalleled culinary experiences. The upcoming post will unwrap the details behind this essential practice and arm you with the knowledge to keep your grill gleaming and guest-ready, making every barbeque better than the last. Stay tuned as we venture into grill maintenance's practical yet satisfying world.
Grilling 101 wraps up with the Basics of Keeping Your Grill Clean. Not only is it essential for cooking a delicious meal, but it will also extend the lifespan of your grill. Keeping your grill clean is simple, with only a few steps, soapy water, and a microfiber towel.
The Benefits of a Clean Grill
Keeping your grill clean is more than just a matter of aesthetics. It can significantly impact your food's taste, grill's lifespan, and health. Here are seven key benefits of maintaining a clean grill that every grilling enthusiast should know.
-
Improved Food Flavor: A clean grill ensures your food retains its authentic flavor. Old residue on the grill can give your food an unpleasant, burnt taste. By keeping your grill clean, you'll enjoy the authentic flavors of your grilled foods.
- Enhanced Grilling Performance: Regular cleaning can improve your grill's performance. A dirty grill may not heat up evenly, leading to inconsistent cooking results. Cleaning the grates and burners can ensure optimal heat distribution, providing the perfect sear every time.
- Increased Lifespan of Your Grill: Routine cleaning can extend the lifespan of your grill. Grease and food particles that build up over time can cause parts of your grill to deteriorate faster. Regular cleaning can prevent this, saving you money in the long run.
- Reduced Risk of Flare-Ups: Grease and fat buildup can increase the risk of flare-ups, which can be dangerous. Keeping your grill clean minimizes this risk, ensuring safer grilling sessions.
- Healthier Meals: A clean grill is a healthier grill. Burnt residue can contain harmful carcinogens that could transfer to your food. Regular cleaning reduces this risk, leading to healthier meals.
- Better Temperature Control: A well-maintained grill allows for better temperature control. Excess grease and debris can affect your grill's ability to reach and maintain the desired temperature. Keeping your grill clean ensures accurate temperature control, which is crucial for perfect grilling results.
- Enhanced Visual Appeal: A clean grill is simply more inviting. Whether hosting a backyard barbecue or enjoying a quiet dinner with your family, a clean grill enhances the overall grilling experience.
Grill Maintenance Basics
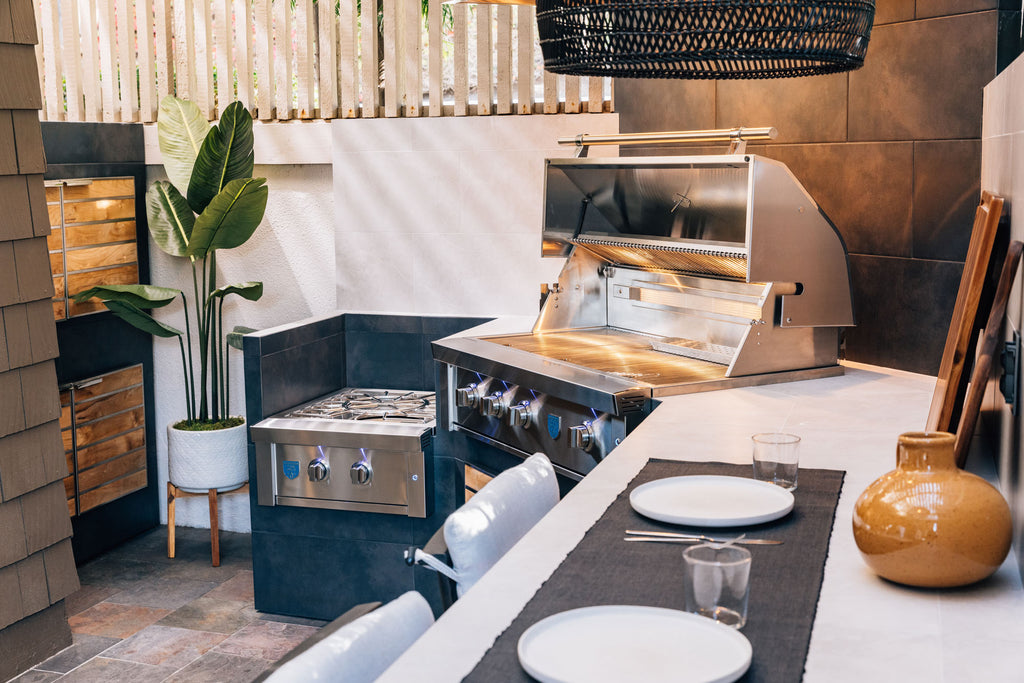
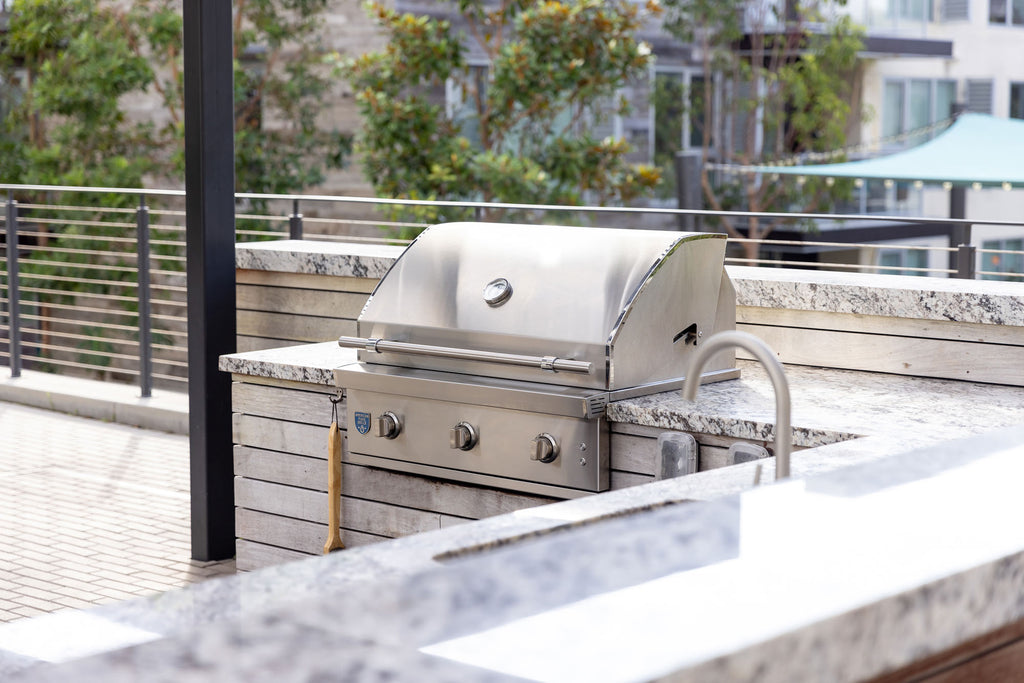
Whether cooking on a gas or charcoal grill, the grills can quickly become filthy. Nothing is worse than having to cook on a dirty grill because it will be challenging to keep food from sticking to the grates, full of bacteria and grease buildup. Not only are dirty grills unappealing, but they are also hazardous to your health. Keeping your grill clean will prevent these dangers and make for a delicious meal!
Our grill maintenance basics are organized into three phases:
- Light Cleaning - Every time you grill
- Medium Cleaning - Once a month or every 10-15 uses
- Deep Cleaning and Maintenance - Once or twice per year
Phase 1: Light Cleaning
Phase 1 is the easiest and most effective phase of cleaning that can keep your grill sanitary and in good working condition for a long time. We call this a light cleaning phase because it is simple, routine maintenance you perform with every use. These steps are intuitive and basic; with just a little practice, they will become part of your regular grill routine.

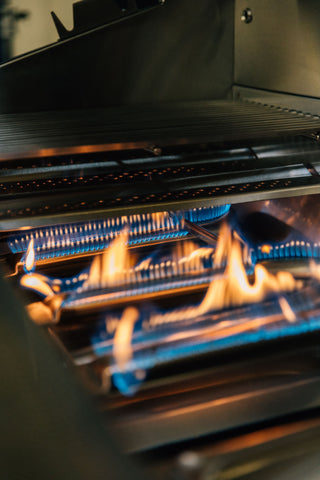
- Every time you start to grill, make sure to thoroughly preheat the grill before cooking. Bringing the grill up to temperature makes for a better grilling experience, burns away anything on the grates, and helps clean and disinfect your gas grill.
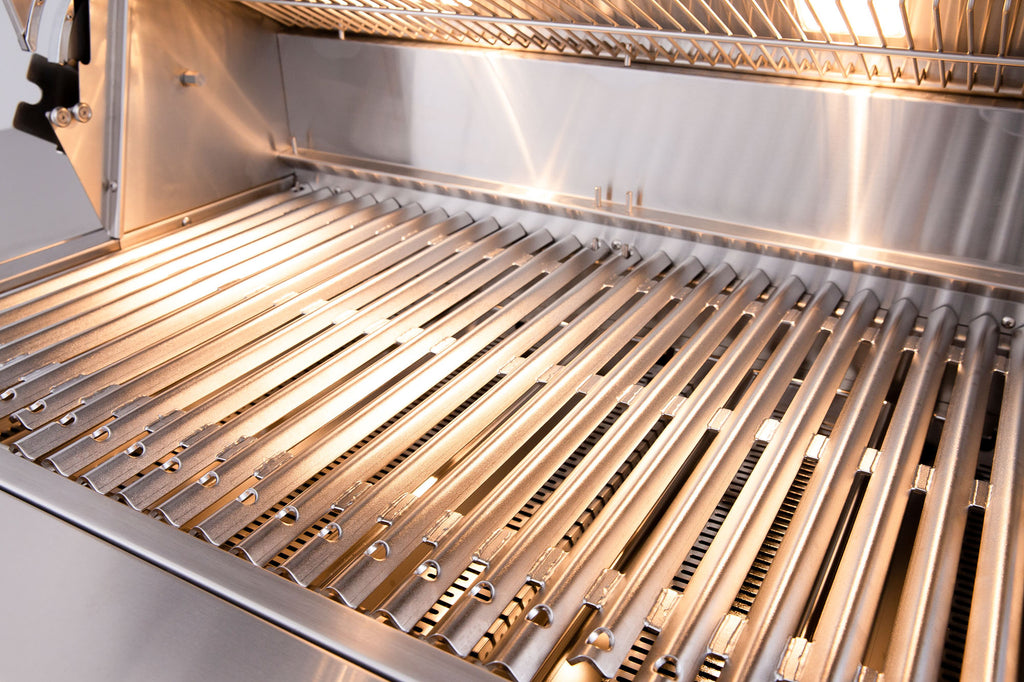
- Use a wire brush to scrape the grill grates clean. Clean grates will sear better and help prevent food from sticking.
- When finished cooking your food, turn the burners on high for 1-2 minutes to burn away drippings and food particles. Use the wire brush again to wipe down the grill grates.
- Once the grill has cooled down, cover with a moisture-resistant cover to protect from weather and dust.
These four simple steps are easy to implement and help keep your grill in good shape.
Phase 2: Medium Cleaning
Phase 2 is a medium level of cleaning and maintenance for your grill that you should do every other month or after 10-15 uses if you grill often. This phase goes beyond the grill grates and dives into cleaning other parts of your grill to remove debris, food, and grease that could begin to deteriorate the grill's structure. Again, these steps are not invasive or laborious but yield great results in the longevity of your grill.

- When your grill is cooled down, remove the cooking grates and clean them on both sides.
- Next, clean off the barriers, sometimes called radiants, located above the burners and below the grates. Barriers are trays of ceramic briquettes, lava rock, or metal that help distribute the heat throughout the grill while protecting the burners from drippings.
- With the barriers removed and cleaned, brush out any charred food debris accumulating inside the grill into the drip pan below.
- Remove the drip pan, dump the contents, wipe clean, and replace in the grill.
- Return the cleaned barriers and girl grates, and turn on the grill for about 10 minutes. As it heats up, it will sterilize and burn away any remaining fragments until virtually no smoke remains.
Phase 3: Deep Cleaning and Maintenance
The 3rd phase requires a little more elbow grease to thoroughly deep clean your grill and remove foreign items that could lead to rusting and structural breakdown. If you grill throughout the year, try to do this cleaning phase twice yearly. If you put away your grill for the winter season, perform this phase before storing your grill away.
Being consistent with the other two phases will keep this phase from taking extended time and requiring much work. For most issues, soapy water and a microfiber towel will be sufficient.

- Begin by first removing the cooking grates and barriers and soaking them in hot, soapy water.
- Thoroughly brush out the grill's interior of any accumulation using an appropriate scraper and soapy water as necessary.
- With the grates and barriers still removed, turn on the grill to see the flames from the burners.
- IMPORTANT! If the flames are not of uniform height, you'll need to clean out the burners. Let the grill cool down again and remove the burner. Use a pipe cleaner, toothpick, or small wire to clean the small holes on the side. Gently tap the burners on the ground to loosen any debris that is in there. Once the burners have been removed and cleaned out, replace them. If they are still generating an uneven flame, repeat this step.
- Remove the drip pan and clean it with an appropriate scraper and soapy water. Replace the drip pan when finished.
- Wipe the exterior of the grill with soapy water to remove dust, grease, and debris.
- After being soaked, wipe off the grill grates and barriers and then return them to the grill.
- Turn on the grill again to make sure you put everything back correctly and dry all the parts.
- Once the grill cools down, cover your grill with an appropriate cover while not in use. If storing away the grill for the winter, turn off the fuel supply and disconnect it properly after it cools. Store the grill covered with a moisture-resistant cover.
Maximize the Life of Your Grill
A properly cleaned and maintained grill looks terrific and offers superior performance and taste! By keeping your grill clean, you won't expose your family to the dangers of bacteria and grease buildup. Keeping it clean is also vital for food safety, as grills can become a breeding ground for bacteria if not cleaned properly. To keep your grill in pristine condition, follow these three phases throughout the year.
For tips on cleaning your stainless steel gas grill, check out this article.

